Using the pad
How to use a pain relief pad effectively
Our Pain Relieving Pad can be used across many areas of the body where pain arises, such as low back pain, nerve pain in arms, legs and feet, tendon pain, and arthritic joints like the ankle, wrist, and neck. This guide explains how to use a pain relief pad effectively to help you regain comfort and enjoy your daily activities without pain. Understanding the right techniques and positioning is key to maximising the benefits. With clear step-by-step instructions, you will learn how to use a pain relief pad safely and confidently. Whether you are new to using the pad or looking to refine your approach, this guide supports your journey towards better pain management.
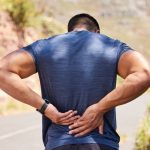
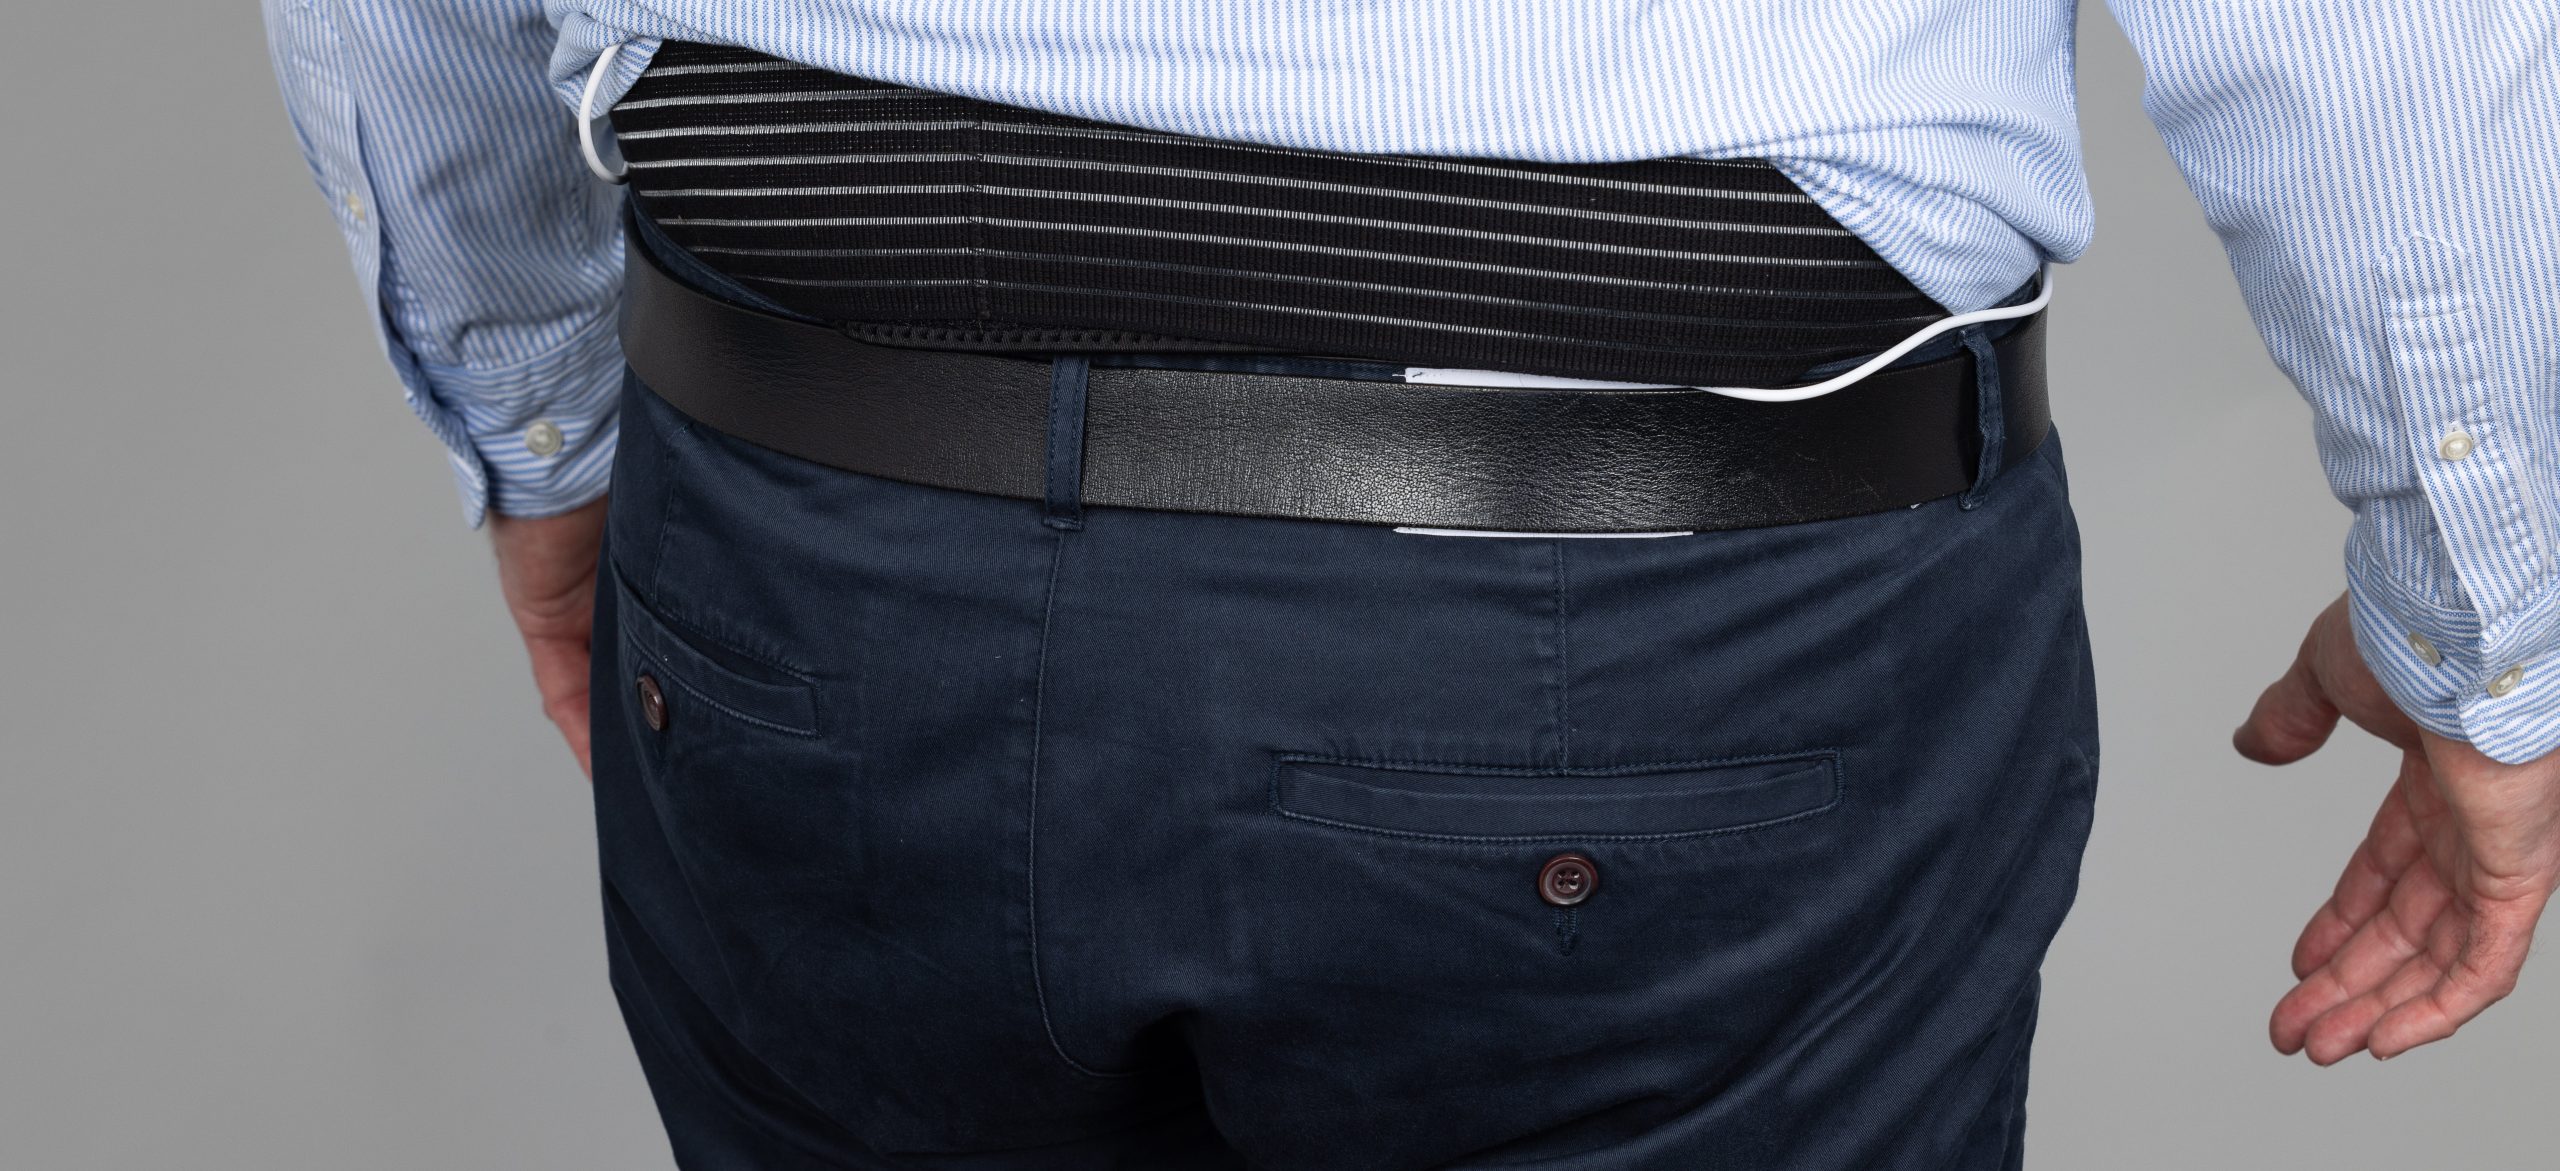
Low back pain
Place both pads in the pouch and attach to the Velcro inside the back brace. Position it where the pain is strongest. Tighten the brace firmly to get full benefit from the pads, but not too tight.
After 20 minutes, remove the pads. If you still need support, wear the brace again. You can tighten it more firmly without the pads.
Nerve pain in arms and legs
The pain relieving pad stops the nerve signals getting to the brain, providing relief from Carpal Tunnel Syndrome, PIN Entrapment, Cubital Tunnel Syndrome, Tarsal Tunnel Syndrome and Meralgia Paraesthetica.
Often, the nerve pain will settle quite quickly. Leave the pad on for a little longer, or use when you know you are going to get pain by doing something. Unless there is permanent damage to the nerve, you will get increasing time after using the pad before the pain come back. Use the pad as often as you like to provide comfort.
Carpal Tunnel Syndrome
- Tingling, numbness, and pain in the thumb, index, middle, and half of the ring finger. When severe, the pain can radiate up to the elbow and even towards the shoulder.
- Place the pad just up the forearm from the wrist, on the same side of the palm of your hand. Secure in place with the straps.
Posterior Interosseous Nerve (PIN) Entrapment
- Pain and cramping in the thumb and index finger tracking from the outside of the elbow.
- Find the bony bit on the outside of your elbow. Come down a little and inwards towards the crease of the elbow. This is over the radial nerve as it branches into the PIN. Secure the pad here with the straps.
Cubital Tunnel Syndrome
- Pain and numbness/tingling in the ring and little fingers, often with elbow pain.
- Cubital Tunnel Syndrome compresses the ulnar nerve on the inside of the elbow.
- Find the bony bit on the inside of your elbow. Come down a little bit and you are over the cubital tunnel. Secure the pad here with the straps.
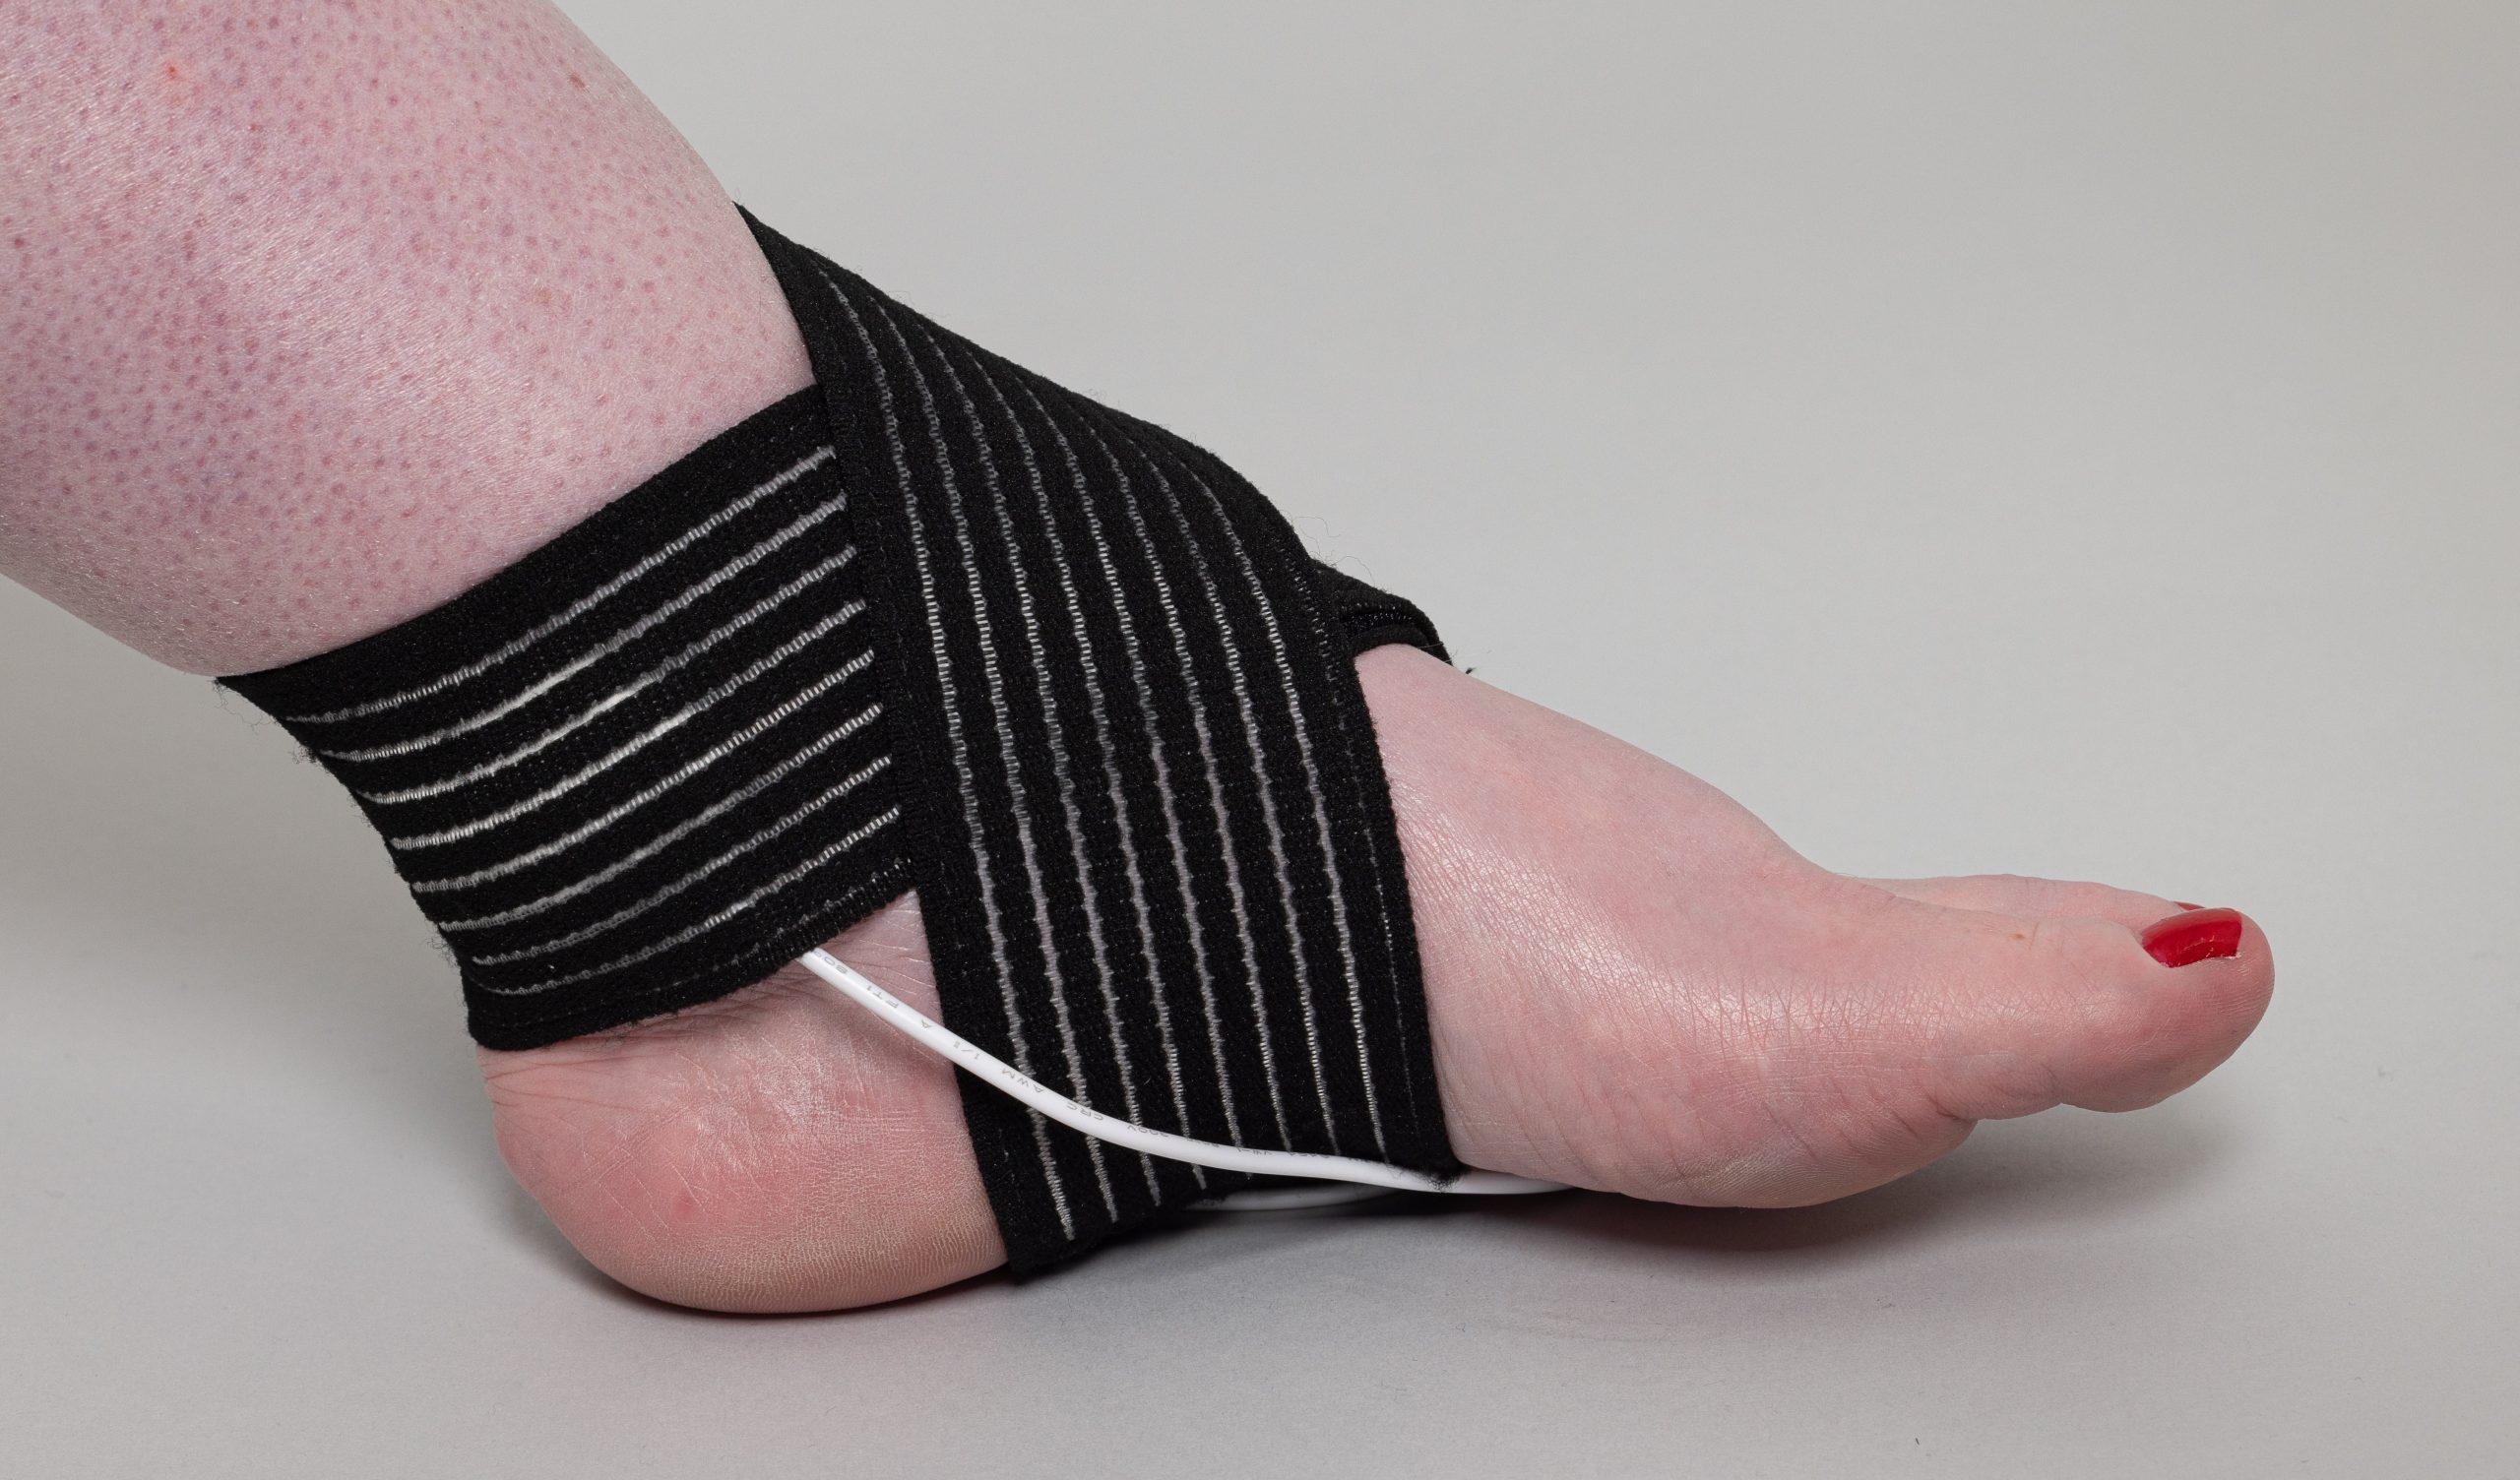
Tarsal Tunnel Syndrome
- Tarsal Tunnel Syndrome is compression of the tibial nerve on the inside of your ankle, between the ankle and the Achilles tendon. The pain and numbness radiate across the sole of the foot from the heel.
- Place the pad on the inside of the ankle, just in front of the Achilles tendon. Secure in place with the straps, best done in a figure of 8.
Meralgia Paraesthetica
- Pain and altered sensation on the front outside bit of the thigh from compression of the lateral cutaneous nerve as it comes into the leg.
- Relax in a chair with your leg out in front of you. Place and hold the pad in the crease of the groin, a third of the way along from the outside of the crease.
Tendon Pain
Tendon pain is common when it has been worked and not allowed to recover fully before you exercise the tendon again. Tendons have poor blood supply, so if you do repetitive movements or exercise, the tendons are not able to fully heal themselves before you work them again. This causes degeneration of the tendon tissue which can be very painful. Common tendons affected are Tennis and Golfers Elbow, Achilles Tendinopathy, Plantar Fasciitis, Patellar and Quadriceps Tendinopathy and Proximal Hamstring Tendinopathy.
Secure the pad over the site of pain, and use it for 20 minutes for 2-3 times a day. You can also use the pad if you are getting pain, either before or during the activity.
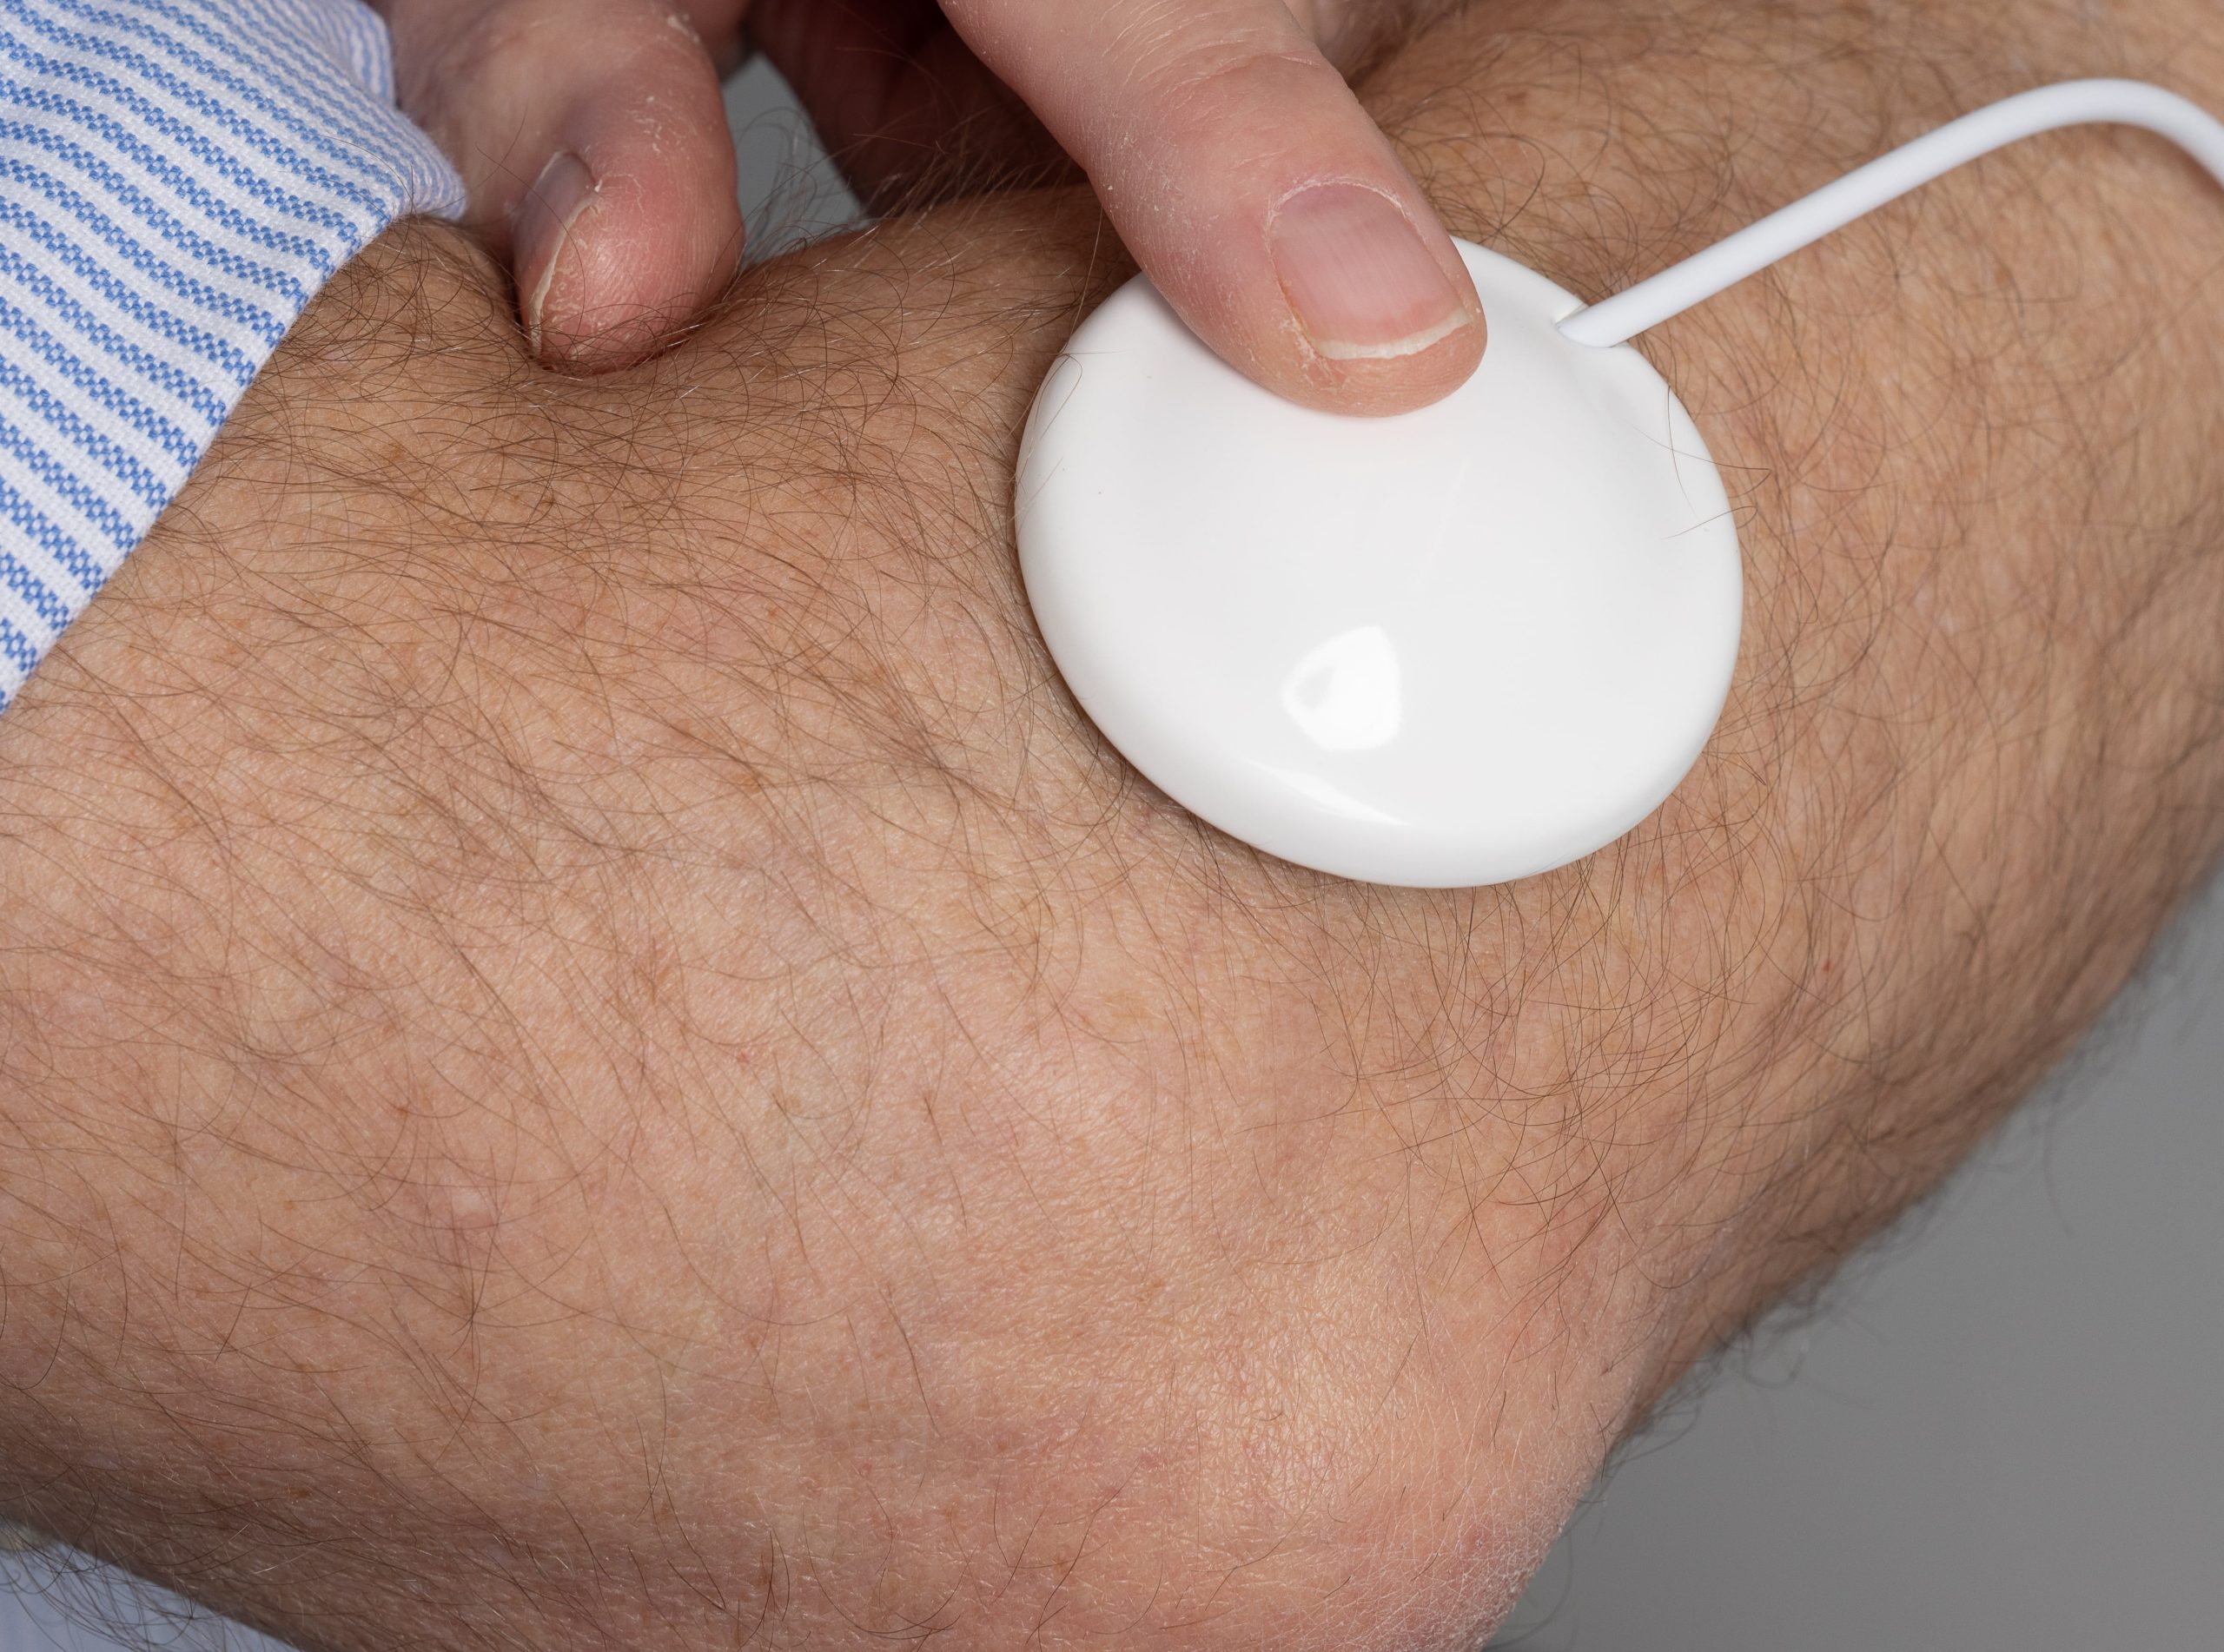
Tennis and Golfers Elbow
- For pain on the outside of your elbow, often called Tennis Elbow, place the pad just down from the bony bit of the elbow.
- If you have pain on the inside, known as Golfer’s Elbow, find the inner side of the elbow and secure the pad on the muscle just below where it hurts.
Patellar and Quadriceps Tendinopathy
- Pain below the knee cap is patellar tendinopathy. Pain where the thigh muscles attaches above the knee cap is quadriceps tendinopathy.
- You will need to join the straps together to secure the pad where you get your pain.
Achilles Tendinopathy and Plantar Fasciitis
- For Achilles tendon pain, put the pad on the inside or outside of the tendon where it hurts most. For heel pain, place the pad on the painful spot and either rest your foot on it or secure it with the strap in a figure-eight.
Proximal Hamstring Tendinopathy
- Pain at the very top of your hamstrings, on the bony bit you sit on.
- Hold the pad here, or sit on the pad to hold it secure.
Arthritis
The pain relieving pads can help reduce the pain from arthritis, typically the hip, wrist, ankle and neck respond well to the pad. Secure the pad over the painful joint using the straps.
For the hip joint, sit in a relaxed position with your le out in front of you. Hold the pad half way along the crease of the groin, over the femoral nerve as it crossed the hip joint.
Let the pad work for up to 20 minutes. You can reapply it 2 to 3 times a day for full benefit.
To deepen your understanding of our products and how to use a pain relief pad, we invite you to explore real-life experiences shared in our testimonial videos. Customers of our Pain Relieving Pad talk about their issues and detail the relief and positive impact on their daily lives. Additionally, our product videos demonstrate the proper use of the pad for targeted, drug-free pain relief. These resources are designed to provide further guidance on how to use a pain relief pad to harness the full potential, helping you overcome pain and regain control over your wellbeing.
Links to testimonial videos
Pain Relieving Pad – Ches’s Story:
https://youtu.be/7osscwTTZCE
Pain Relieving Pad – Fi’s Story:
https://youtu.be/vfz191TplvQ
Links to product videos & how to use a pain relief pad
Our commitment to you
Easy to use
Our versatile and multi-use design doesn't require any complicated set up, making it a convenient choice.
Expertly engineered
Extensive development has led to the creation of a non-invasive alternative for pain management.
Trusted by you
Since its inception, individuals like you have tried and tested the pad. We value customer feedback!
Money-back guarantee*
Try our product with confidence. If it doesn't meet your expectations, we'll make it right.*